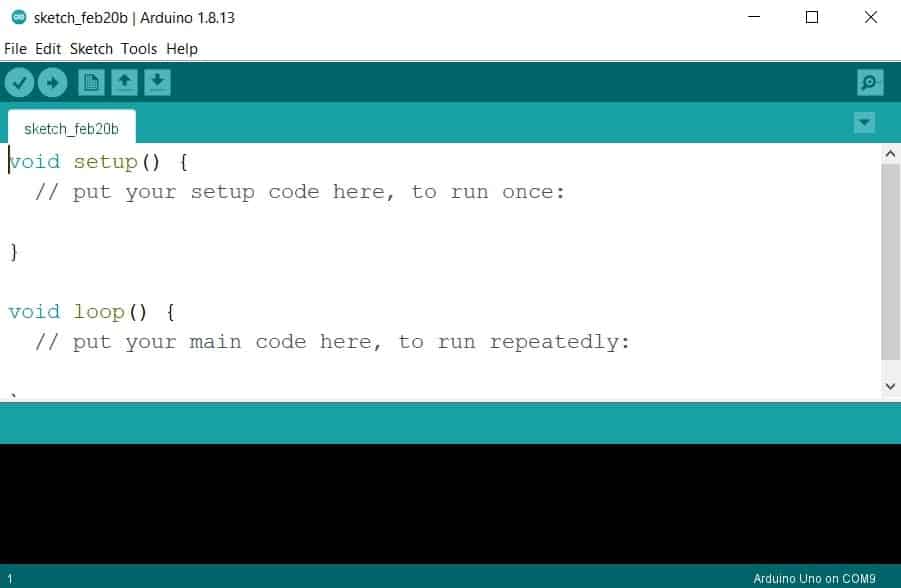
When you open a new sketch in Arduino IDE, you will see two blocks, the first one is the void setup(){ } and the next one is the void loop(){ }. These two blocks are necessary in order to work with Arduino boards. These two blocks must be added to your code. if you missed any of the blocks, your code will not be uploaded to the board and you will get an error.
setup() Function in Arduino Programming
Syntax: void setup(){}
Here, the “void” is the data type, “setup” is the function name. You have to write all of your code inside the curly brackets. The code which is written inside the “void loop()” function will run only once. We normally define pins of the Arduino board as input/output in this function and to set up serial communication.
loop() Function in Arduino Programming
Syntax: void loop(){ }
Here, the “void” is the data type, “loop” is the function name. You have to write all of your code inside the curly brackets. The code which is written inside the “void loop()” function will run in a loop for infinite time or till the Arduino board is turned OFF. We will write our main code inside this block.
pinMode() Function in Arduino Programming
This function is used to set the Arduino Board pins as INPUT or OUTPUT. If you are receiving data on the Arduino pin then you set that pin as INPUT. If you are sending data to the Arduino pin then you set that pin as OUTPUT. The syntax of using this function is;
Syntax: pinMode(pinName,mode);
mode= INPUT or OUTPUT
e.g. to set the 3rd pin of the Arduino board as an INPUT you will write;
pinMode(3,INPUT);
e.g. to set the 3rd pin of the Arduino board as an OUTPUT you will write:
pinMode(3,OUTPUT);
Don’t forget to write a semicolon at the end of the command. The “M” letter of the pinMode function must be a capital letter. The word INPUT and OUTPUT are written in all capital letters.
When you define a pin as INPUT, by default this pin is set to a high- impedance state, and when you define a pin as OUTPUT, by default this pin is set to a low-impedance state.
digitalWrite() Function in Arduino Programming
This function is used when you want to write digital data on the Arduino pins that are logic 0 or logic 1. Here, ‘0’ is be denoted by ‘LOW’, and ‘1’ is denoted by ‘HIGH’. When you measure the voltage on the Arduino pin you will get a voltage less than 1.5v for logic LOW and 4.8 for logic HIGH.
The syntax for using this function is;
Syntax: digitalWrite(pinName,data);
data=HIGH or LOW
e.g. to send logic 0 on the 5th pin of Arduino you will write;
digitalWrite(5,LOW);
e.g. to send logic 1 on the 5th pin of Arduino you will write;
digitalWrite(5,HIGH);
The ‘W’ letter of digitalWrite() function is capital.
digitalRead() Function in Arduino Programming
This function is used to read digital data from the Arduino board pins. The data can either be logic 1 or logic 0. The syntax for using this function is;
digitalRead(pinName);
e.g. if you want to read digital data from pin 4 of Arduino you will write;
digitalRead(4);
delay() Function in Arduino Programming
This function is used to give delay in microseconds. The syntax for using this function is;
delay(time);
e.g. if you want to give a delay of 1 second you will write;
delay(1000);
1s=1000ms