What is a photoresistor or an LDR?
A photoresistor or an LDR is a light-dependent variable resistor. The resistance of a photoresistor is dependent on the light intensity. When light intensity increases the resistance of LDR decreases and when the light intensity decreases the resistance of LDR increases. It is a low cost and easy to use electronic component. It is mainly used in the circuits where you want to detect the presence of light. There are a variety of applications of an LDR like fire alarm systems, burglar alarms and street lights.
Pin configuration of photoresistor or an LDR
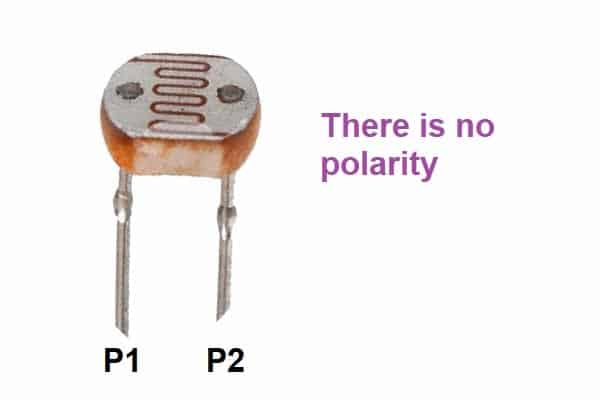
Features of photoresistor
- Easy to use in circuits
- Consumes less power
- Quick response
- Cheap and easily available
Components needed
- Arduino UNO
- 5mm photoresistor
- Jumper wires
- Breadboard
- One 10k resistor
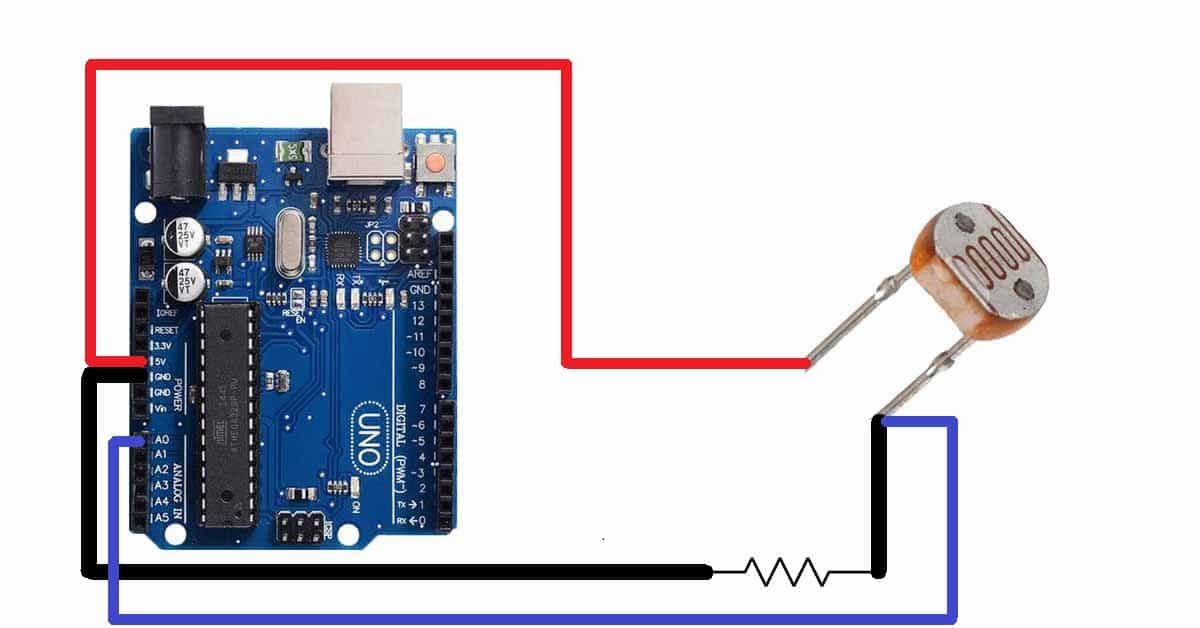
Pin connections of the photoresistor with Arduino
- Connect the first pin of the LDR to the 5v pin of Arduino
- Connect the second pin of LDR to the A0 pin of Arduino
- Connect the first terminal of the 10k resistor to the second pin of LDR
- Connect the second terminal of the 10k resistor to the GND pin of Arduino
Circuit diagram of LDR or photoresistor with Arduino
Arduino code for LDR or photoresistor
const int sensor=A0; // define Arduino pin where LDR is connected
void setup() {
pinMode(sensor,INPUT); // set LDR pin as input to receive data from it
Serial.begin(9600); // set baud rate for serial communication
}

void loop() {
  int sensorData=analogRead(sensor); // create a variable to store the data of the LDR
  Serial.print("Data:");

  Serial.println(sensorData); // print data onto serial monitor
  float dataVolts=map(sensorData,0,1023,0,5); // convert the LDR data to volts
  Serial.print("Data in Volts");
  Serial.println(dataVolts); // print data in volts onto the serial monitor
}